How to Cut Calcium Silicate Board ?

  1. Home
  2. »
  3. Calcium Silicate Boards
  4. »
  5. How to Cut Calcium Silicate Board ?
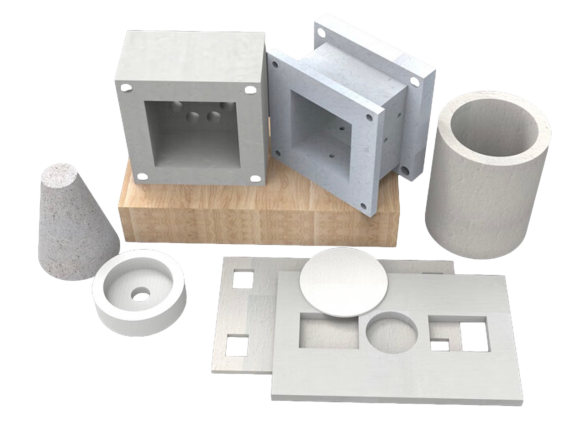
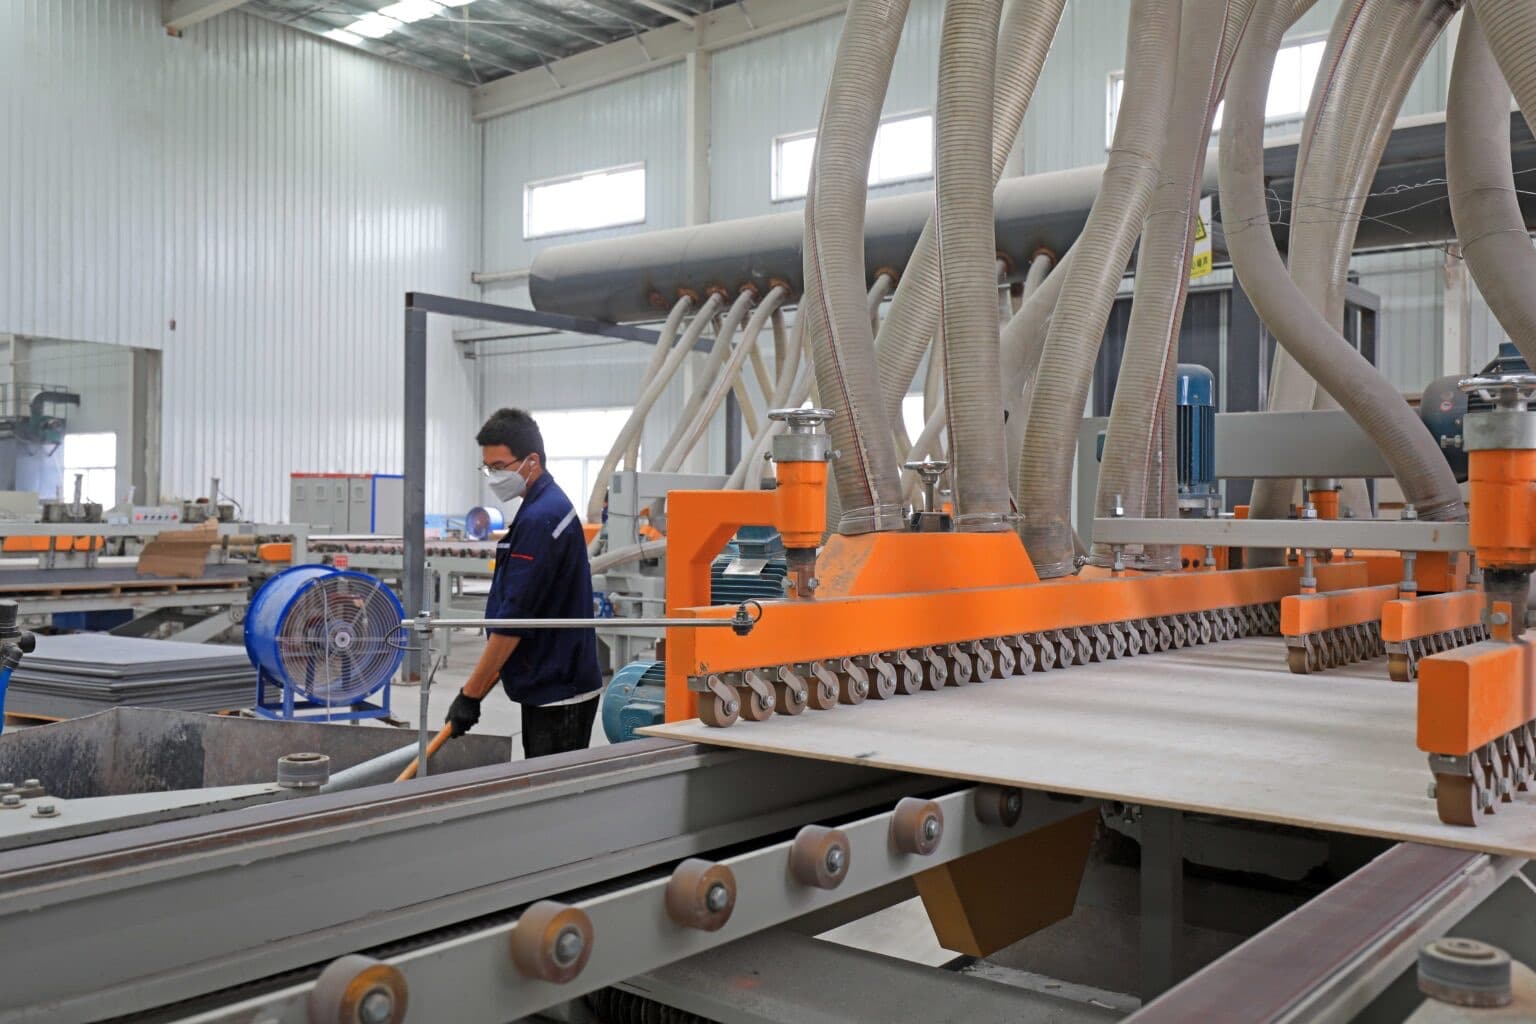
Fireproof board cutting saw

Table of Contents

Hello, I’m Steve Shi, the author of this post. Over the past 12 years, I’ve worked with over 100 clients, including wholesalers, contractors, and builders, to assist with their passive fire protection projects. Today, I want to share some insights on how to cut calcium silicate board—one of the most critical materials in fireproofing, insulation, and other construction applications.

Calcium silicate board is a versatile material used in building walls, ceilings, and industrial insulation. However, cutting it can be tricky due to its hard and brittle nature. Whether you’re a DIY enthusiast or a professional builder, mastering the correct cutting methods is essential to achieving precise results and avoiding damage. In this guide, I’ll walk you through the best tools, techniques, and advanced methods for cutting calcium silicate boards effectively.

calcium-silicate-board-high-temperature-test

Tools Required for Cutting

To begin, you need the right tools. The tool you choose largely depends on the thickness of the calcium silicate board and the kind of cuts you’re planning to make. Here are the essential tools:

Hand tools: A measuring tape or ruler, a utility knife, and a straightedge for making accurate measurements and markings.

Power tools: For thicker or more demanding cuts, a circular saw with a carbide-tipped blade is essential. You can also use a jigsaw or hole saw for more detailed work like cutting curves or holes.

Advanced tools: Laser cutting machines, water jet cutters, and ultrasonic cutting devices are modern options for precise, efficient cutting.

Safety gear: Always wear a dust mask, gloves, and safety glasses. Cutting calcium silicate boards generates dust that you don’t want to inhale, and the edges of freshly cut boards can be sharp.

New Cutting Methods for Calcium Silicate Board

In my experience, traditional mechanical methods (like using saw blades and cutting discs) work well for standard projects, but they have limitations—especially when you need clean, precise cuts on hard and brittle materials like calcium silicate board. Over the years, I’ve seen newer cutting techniques emerge, and they offer superior results in many cases.

1. Laser Cutting

Laser cutting provides a high level of precision. It is a contactless method, which reduces the risk of board damage. In my experience, laser cutting is especially helpful for projects that require intricate shapes or designs because it delivers smooth, clean edges. However, laser cutting requires specialized equipment, and the initial cost can be higher. But if precision is your priority, it’s worth considering.

2. Water Jet Cutting

Water jet cutting uses a high-pressure stream of water mixed with abrasive particles to cut through the board. This method is quick and provides very smooth, straight cuts. One of the biggest advantages is that water jet cutting generates minimal heat, which reduces thermal stress and the risk of cracking—a common issue when using traditional methods. It’s an excellent option for large projects where efficiency is crucial.

3. Ultrasonic Cutting

Ultrasonic cutting uses vibrating blades to slice through materials like calcium silicate. The vibrations reduce the force needed to make the cut, which minimizes the risk of breaking the board. In my experience, this method is particularly effective when dealing with delicate parts or small-scale projects. It’s also a relatively cost-effective technique, though the cutting speed can be slower compared to other methods.

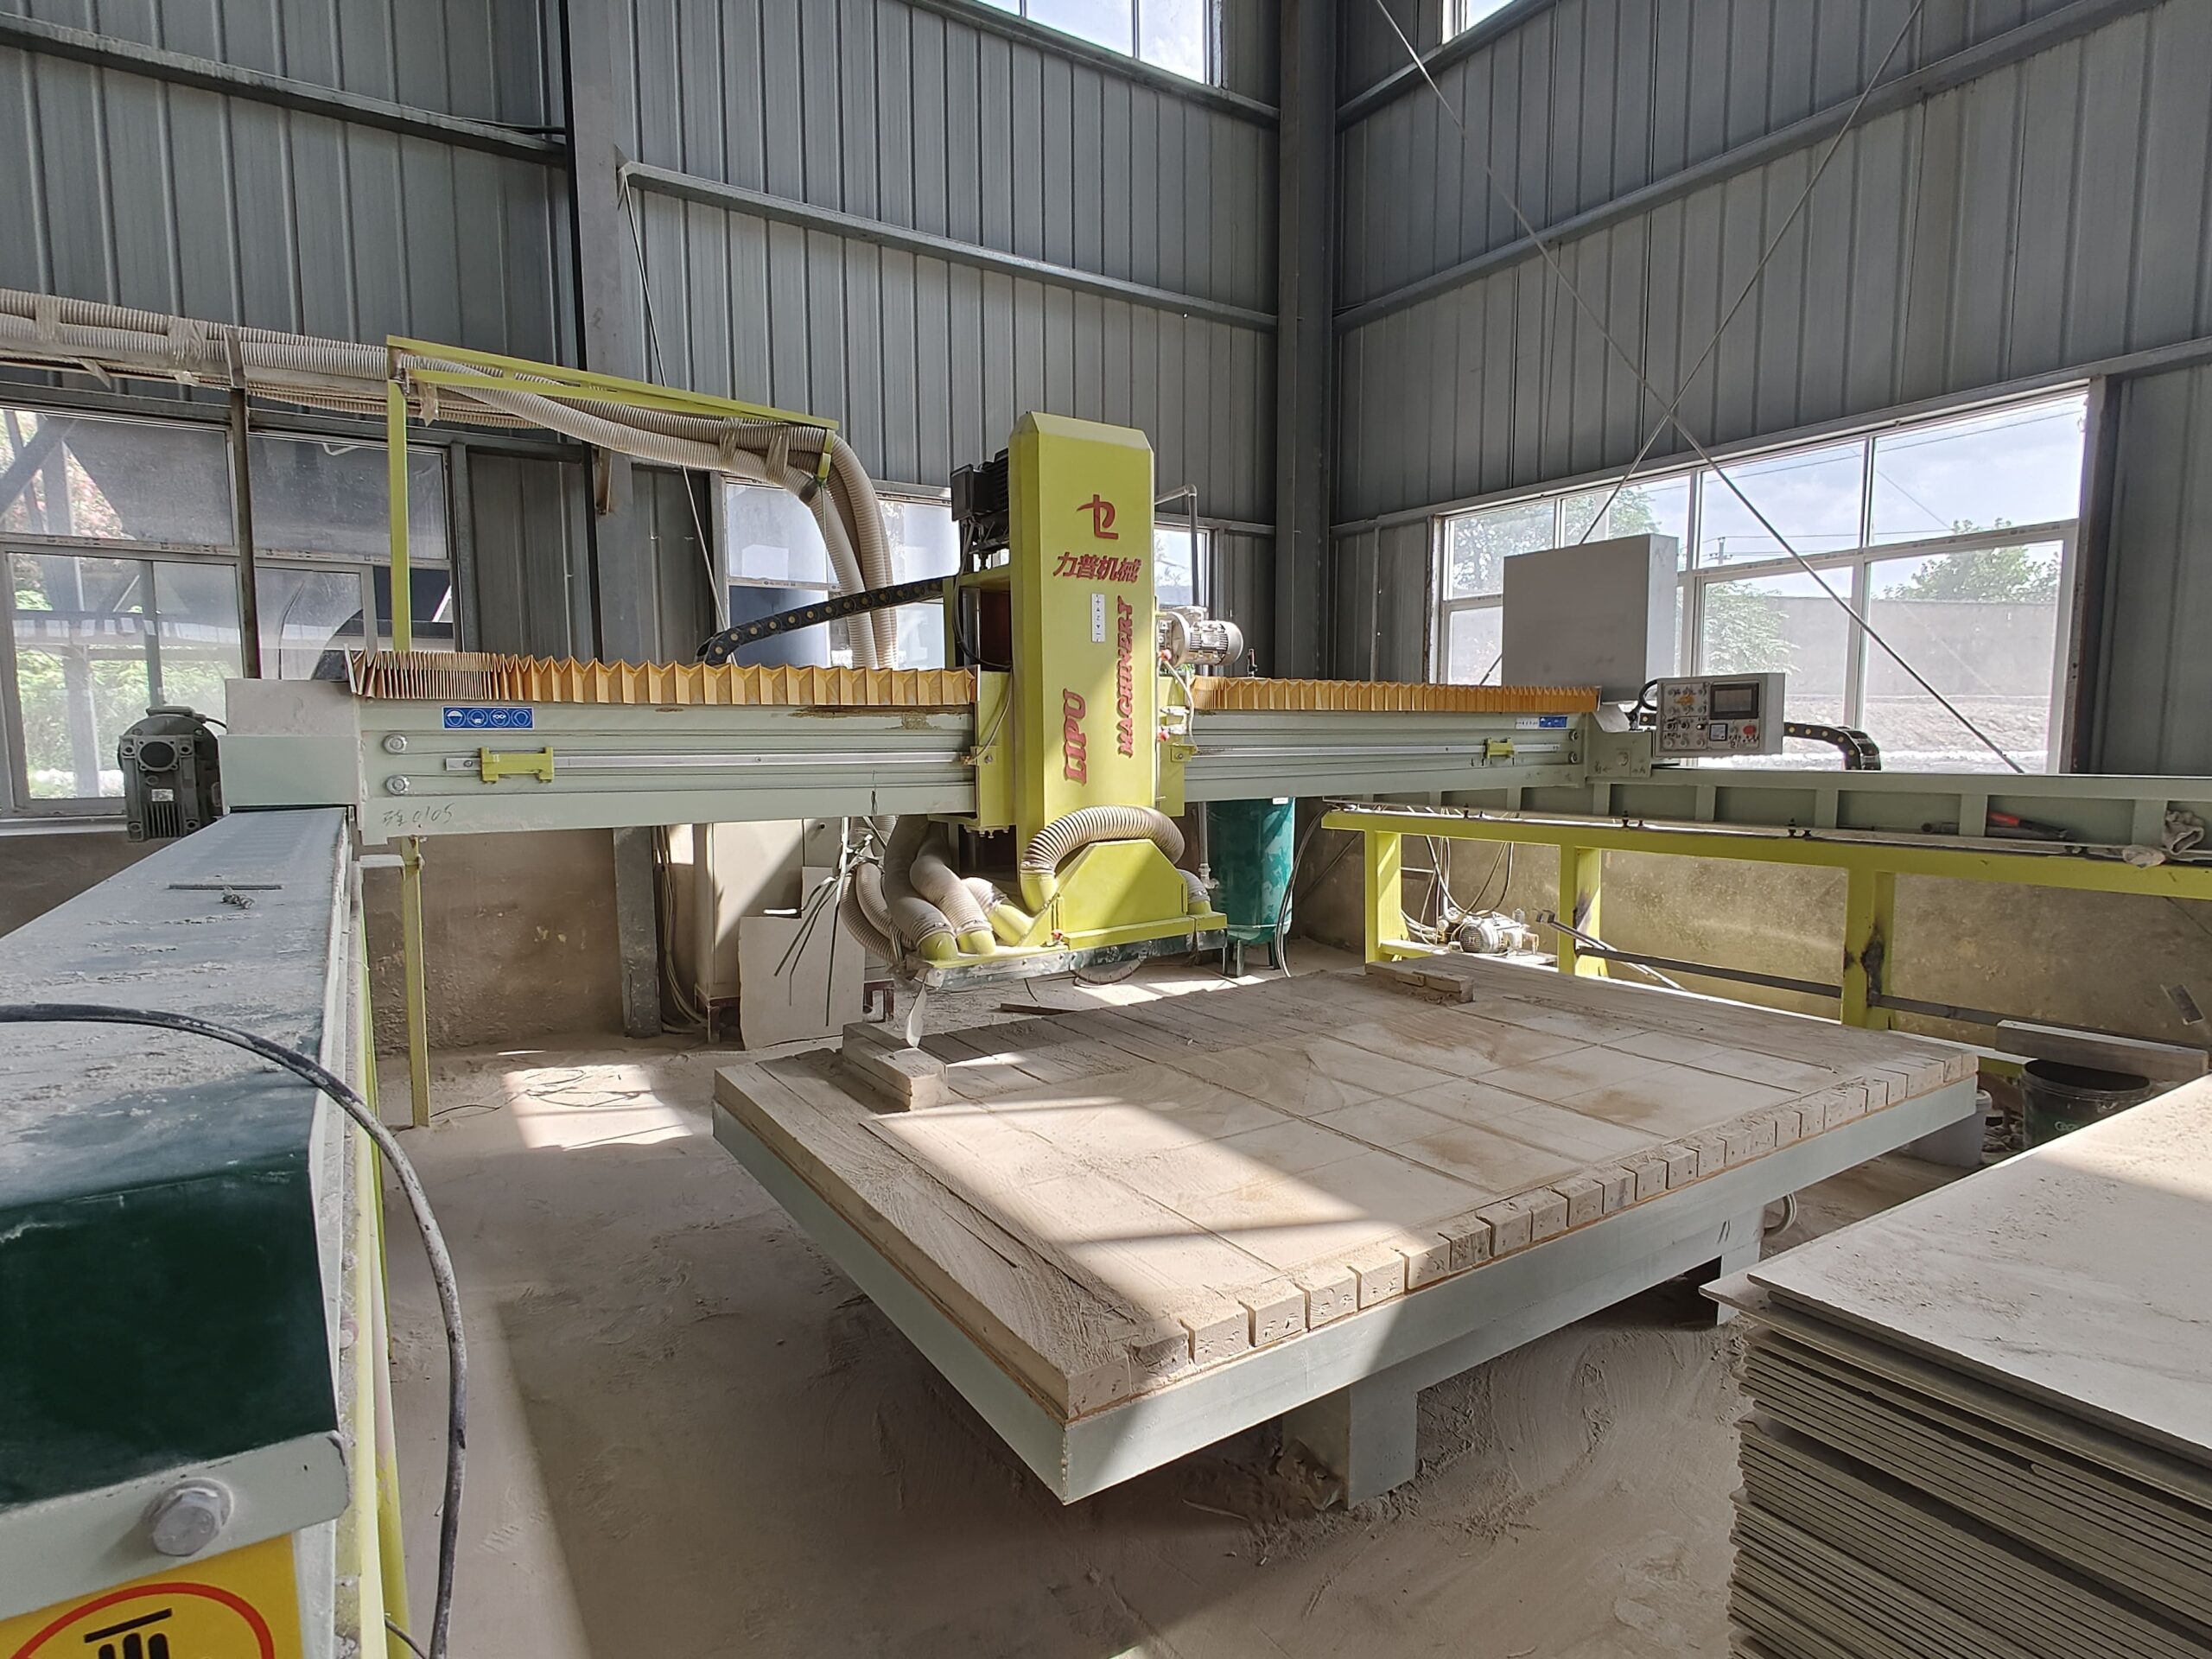
Fireproof board cutting saw

Preparation Steps

Before making any cuts, preparation is key. Accurate measurements and a stable workspace can mean the difference between a clean cut and a frustrating mistake.

Measuring and Marking: Always begin by measuring the area you need to cut. Use a measuring tape and a straightedge to mark the line clearly with a pencil or marker. I recommend double-checking your measurements to avoid any costly mistakes.

Choosing the Right Tool: As I mentioned earlier, the thickness of the board determines whether you’ll use hand tools, power tools, or advanced techniques like laser or water jet cutting. For thin boards (around 10 mm or less), a utility knife might be sufficient. For thicker boards, opt for a circular saw.

Setting Up a Cutting Space: Make sure the board is on a stable surface before cutting. I typically use a workbench or sawhorses to support the board. This ensures that the board won’t shift or crack during the process.

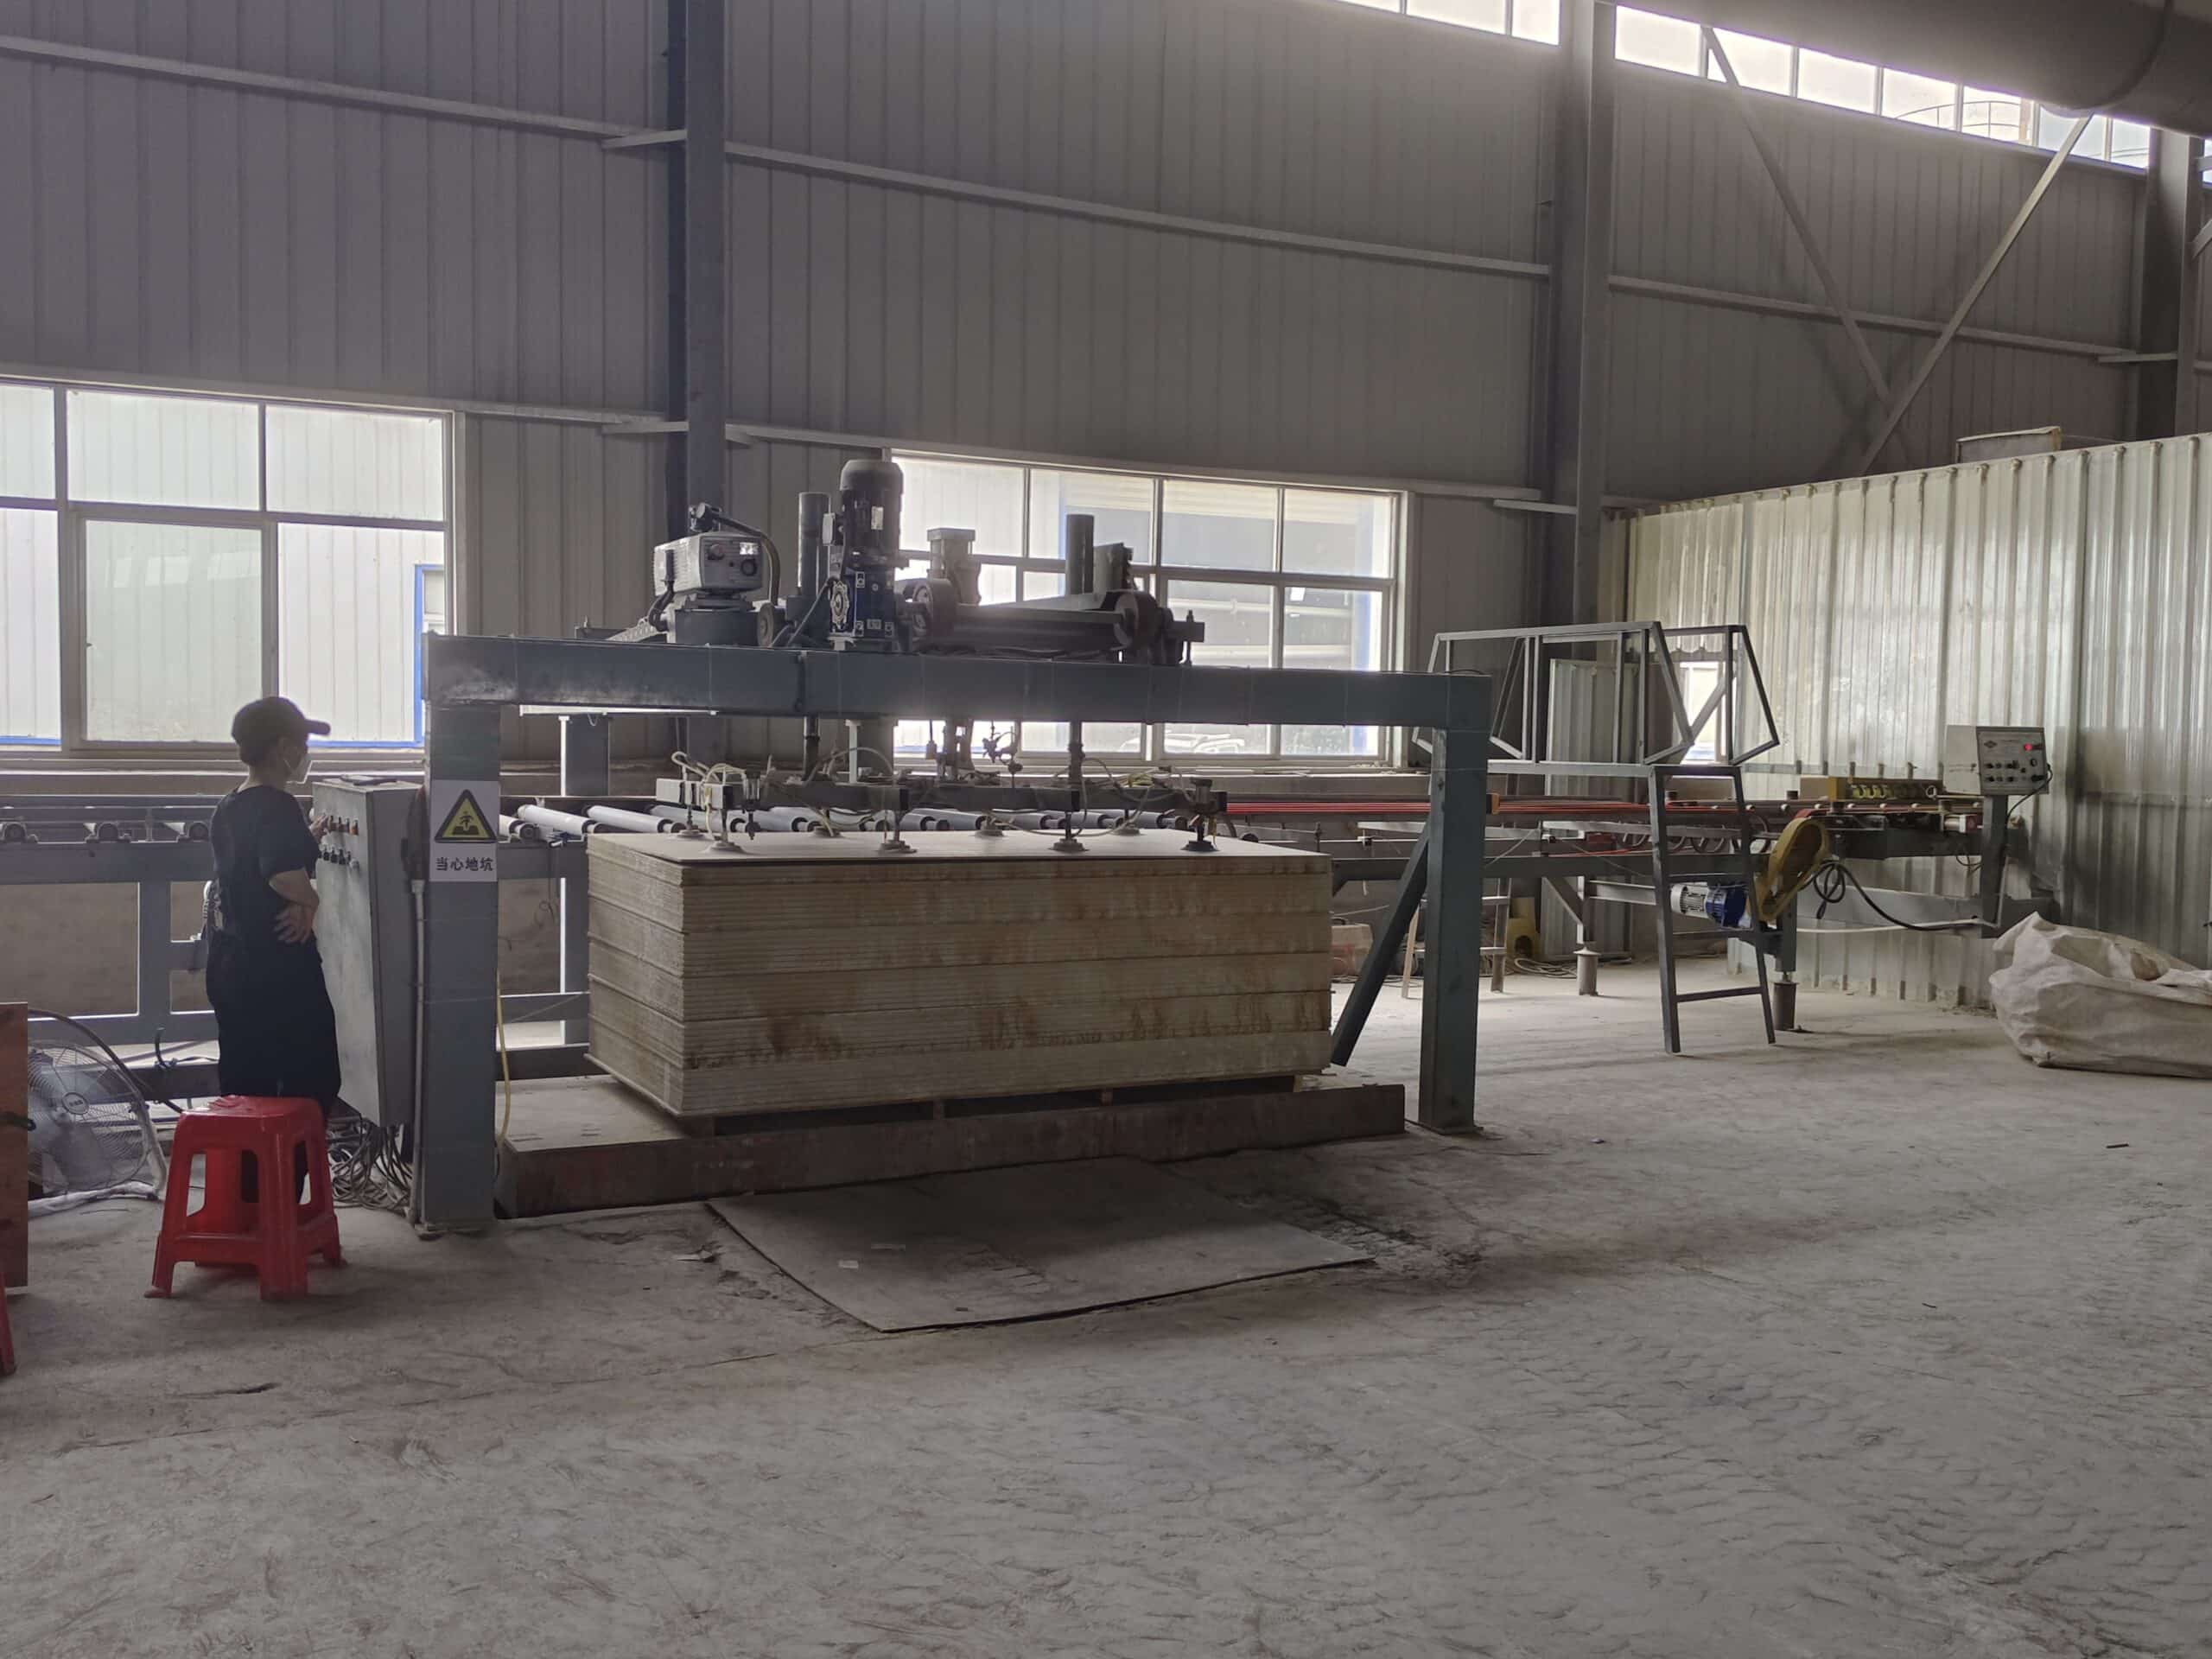
Automatic packaging equipment

Traditional Cutting Methods Based on Board Thickness

If you’re using traditional methods, here are the recommended tools and techniques:

For Thin Boards (10 mm or less): A utility knife or scoring knife is often sufficient. Score the board along the marked line several times with firm pressure, and then snap the board cleanly along the line. I’ve found this method works well for small projects or when you’re cutting simple, straight lines.

For Thick Boards (more than 10 mm): A circular saw with a carbide-tipped blade is ideal. Always cut slowly and steadily to prevent chipping or uneven cuts. This method requires some experience with power tools, but it delivers clean, straight cuts when done correctly.

Cutting Irregular Shapes

There are times when you’ll need to cut curves or make holes for outlets, pipes, or other irregular shapes. Traditional methods might not be sufficient, but don’t worry—there are options for these tricky cuts as well:

Jigsaw: For cutting curves or non-linear shapes, I recommend using a jigsaw fitted with a fine-tooth blade. It allows for greater control over the cut. Start slowly and follow the marked line to ensure a clean result. I have found that using a jigsaw is particularly helpful for detailed or custom cuts that would be difficult with a circular saw.

Hole Saw: If you need to create holes for outlets or pipes, a hole saw is the tool of choice. Attach it to a power drill and carefully position it at the marked point. This method gives you clean, circular cuts without the risk of cracking the board.

Cutting Calcium Silicate Boards equipment

Post-Cutting Finishing

After making your cuts, it’s important to clean up the edges to avoid rough spots or sharp areas that could cause injury or interfere with the installation process. Here’s how to finish the job:

Smoothing the Edges: Use medium-grit sandpaper or a sanding block to smooth out the edges of the board. In my experience, this step makes a big difference in the overall quality of the finish, especially if the board will be visible once installed.

Cleaning Up: Cutting calcium silicate board generates a lot of dust, which can be harmful if inhaled. I recommend cleaning your workspace thoroughly after you finish cutting. Use a vacuum or a damp cloth to wipe away dust, and be sure to dispose of the waste properly.

Safety Considerations

Safety is always a priority when cutting calcium silicate boards. The dust produced during cutting can be hazardous, and power tools can pose risks if not used correctly. Here are my top safety tips based on years of experience:

Wear Protective Gear: Always wear a dust mask or respirator to avoid inhaling dust particles. Gloves and safety goggles are also essential to protect your hands and eyes from flying debris.

Work in a Well-Ventilated Area: If possible, cut outdoors or in a well-ventilated space. If you must cut indoors, use a fan or dust extraction system to minimize dust accumulation.

Stabilize the Board: Make sure the board is fully supported while cutting to prevent it from moving, cracking, or chipping. A stable surface helps you maintain control of the tool and prevents accidents.

Handle Power Tools Safely: Always follow the manufacturer’s instructions for your power tools. Ensure the blades are sharp and well-maintained, as dull blades can cause the tool to bind and increase the risk of injury.

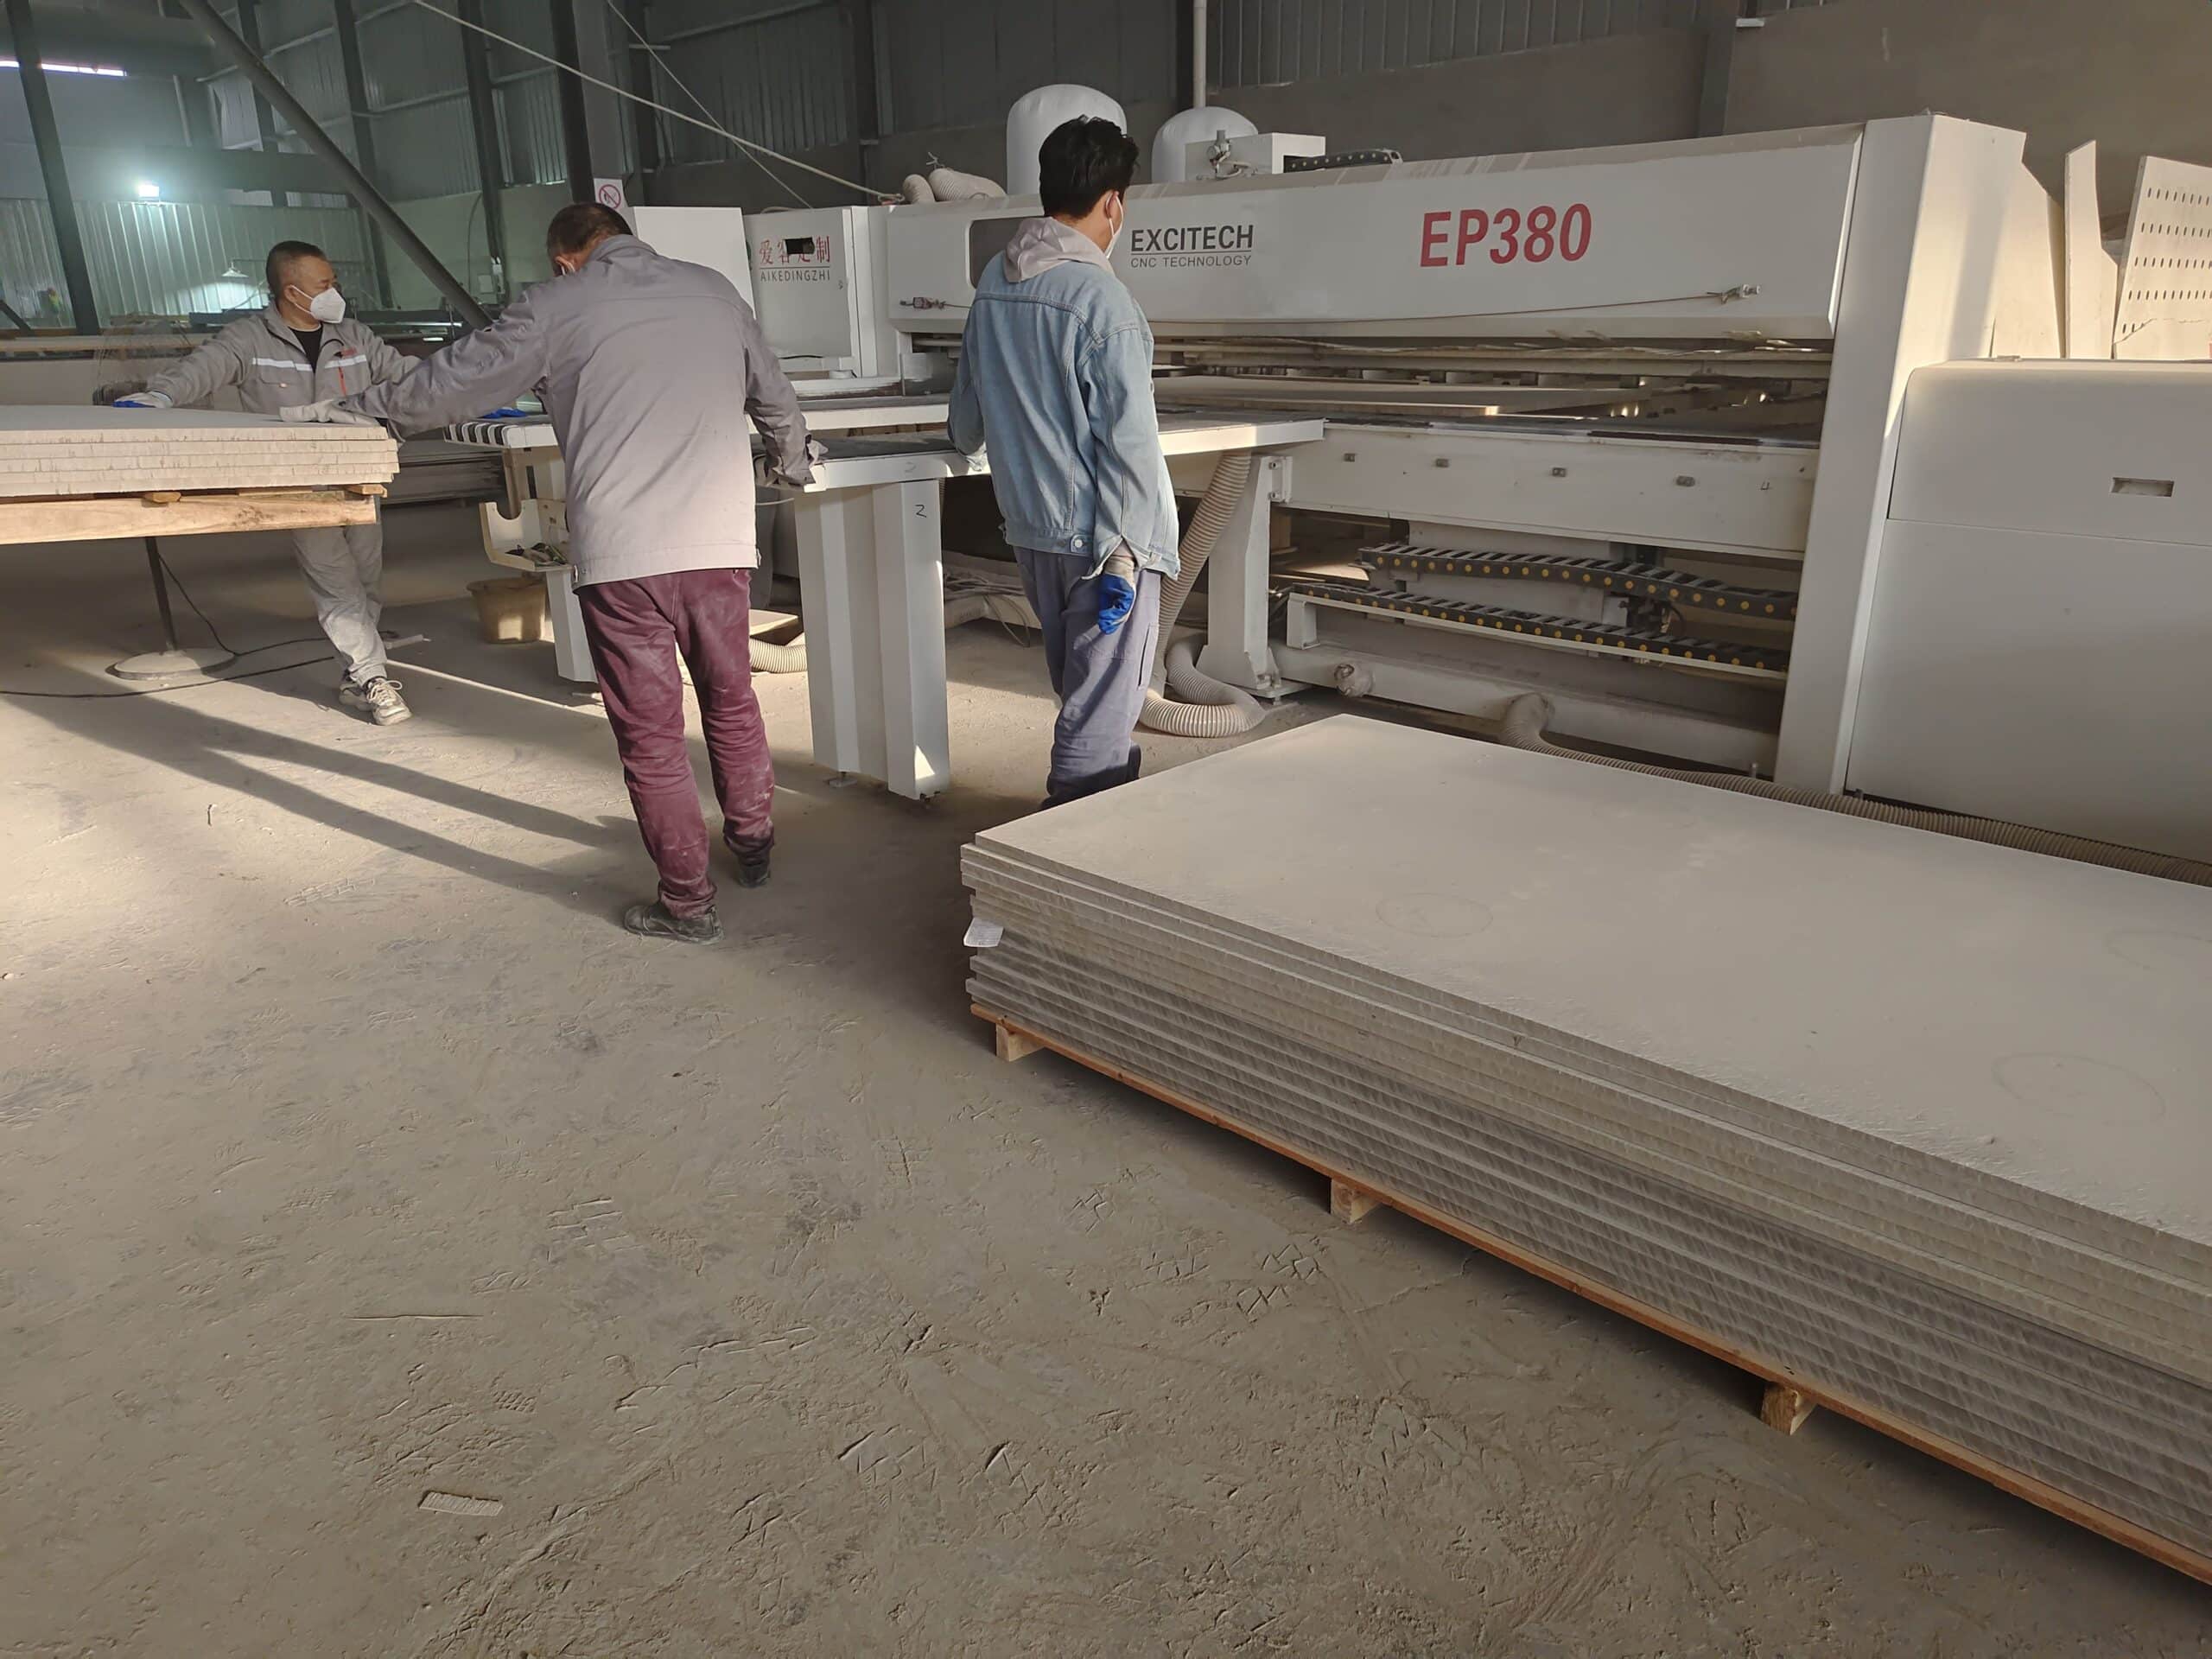
Production of calcium silicate board

Conclusion

Cutting calcium silicate board can be a straightforward task if you have the right tools and techniques. Whether you’re working on a DIY project or a large-scale construction site, choosing the appropriate method—whether traditional or advanced—ensures a clean, precise result. From my experience, using modern cutting methods like laser cutting or water jet cutting can significantly reduce the risk of damage and improve the overall quality of the job.

If you have any questions about cutting calcium silicate boards or need help selecting the right method for your project, feel free to contact us. We’re always happy to provide a free, no-obligation quote or discuss how we can assist with your next project.

In my 12 years of experience working with fire protection materials and construction projects, I’ve found that using the right tools and taking the time to prepare properly are the keys to success. So, don’t rush the job—measure twice, cut once, and always prioritize safety.

Hello, I'm Steve Shi, the author of this post. Over the past 12 years, we have assisted more than 100 clients, including wholesalers, contributors, and builders, with their passive fire protection projects. If you have any questions or require further information, please feel free to contact us for a free, no-obligation quote or to discuss your solutions.

Passive Fire Protection One-Stop Solution

Our products offer comparable quality to Promat at more competitive prices.
Choose FireSafe

Stretch Your Budget, Not Your Standards !

Request A Quick Free Quote

Before starting using our services, please fill in the following form, to tell us which kind of calcium silicate board you want to import from China.

Once we get the detailed information for your requests, your assigned customer representative will contact you shortly. He or she will support you from planning to shipping.

If need other help, please email to [email protected].